1. A good brief is specific without being rigid
The best commission briefs explain the use case, the desired size, the preferred style, and any hard limits. For example, a display piece for a shelf is a different problem from a functional part or a prop that will be handled during events. We also want to know what cannot change. Maybe the silhouette must stay faithful to a source concept. Maybe a logo needs to remain legible. Maybe the budget is the most important constraint.
At the same time, a brief should leave room for practical adjustments. If the design is too rigid too early, the project can get stuck when real-world print limits appear. The best briefs say what matters most and trust the workshop to solve the rest. That is the difference between a vague idea and a useful starting point.
2. We quote for scope, not for wishful thinking
Pricing a custom job is part technical estimate and part project management. We look at size, material, detail level, number of parts, expected revisions, and finishing time. A small object can still be expensive if it needs careful hand cleanup or multiple prototype passes. A larger object may be straightforward if the geometry is simple and the workflow is well understood. The real question is how much work the project will consume from start to finish.
This keeps the process honest. It also helps the client understand what they are paying for. If the request needs extra modeling, extra testing, or extra finishing, that work should be visible in the quote rather than hidden inside it. Transparent scope management is one of the easiest ways to keep custom work sustainable.
3. The first model is a conversation starter
Once the brief is clear, we build a concept version. That might be a sketch, a blockout, or a rough sculpt depending on the project. The purpose is not to be perfect. The purpose is to answer the early questions quickly. Does the object read properly at the intended size? Do the proportions feel right? Is there enough material where stress is likely to happen? Does the shape still make sense when you imagine it printed?
We often send a concept back for feedback before any final detailing begins. This lets the client see direction without waiting for a fully polished file. It also avoids spending time refining the wrong solution. The earlier the feedback loop opens, the less likely the project is to drift away from the original intent.
4. Prototype, revise, and keep the parts that work
Custom design gets real when the prototype appears. At that stage the project stops being an image and becomes a physical conversation. We test fit, surface quality, balance, and the presence of any weak areas. If something is off, we revise the model and test again. That cycle may sound slow, but it is faster than committing to a bad final print and then trying to fix the problem after the fact.
Not every revision means a change in direction. Sometimes the answer is just a cleaner seam, a stronger base, or a better tolerance on a joint. The important part is that the prototype gives us permission to compare the idea with reality. In custom work, reality is the only reliable editor.
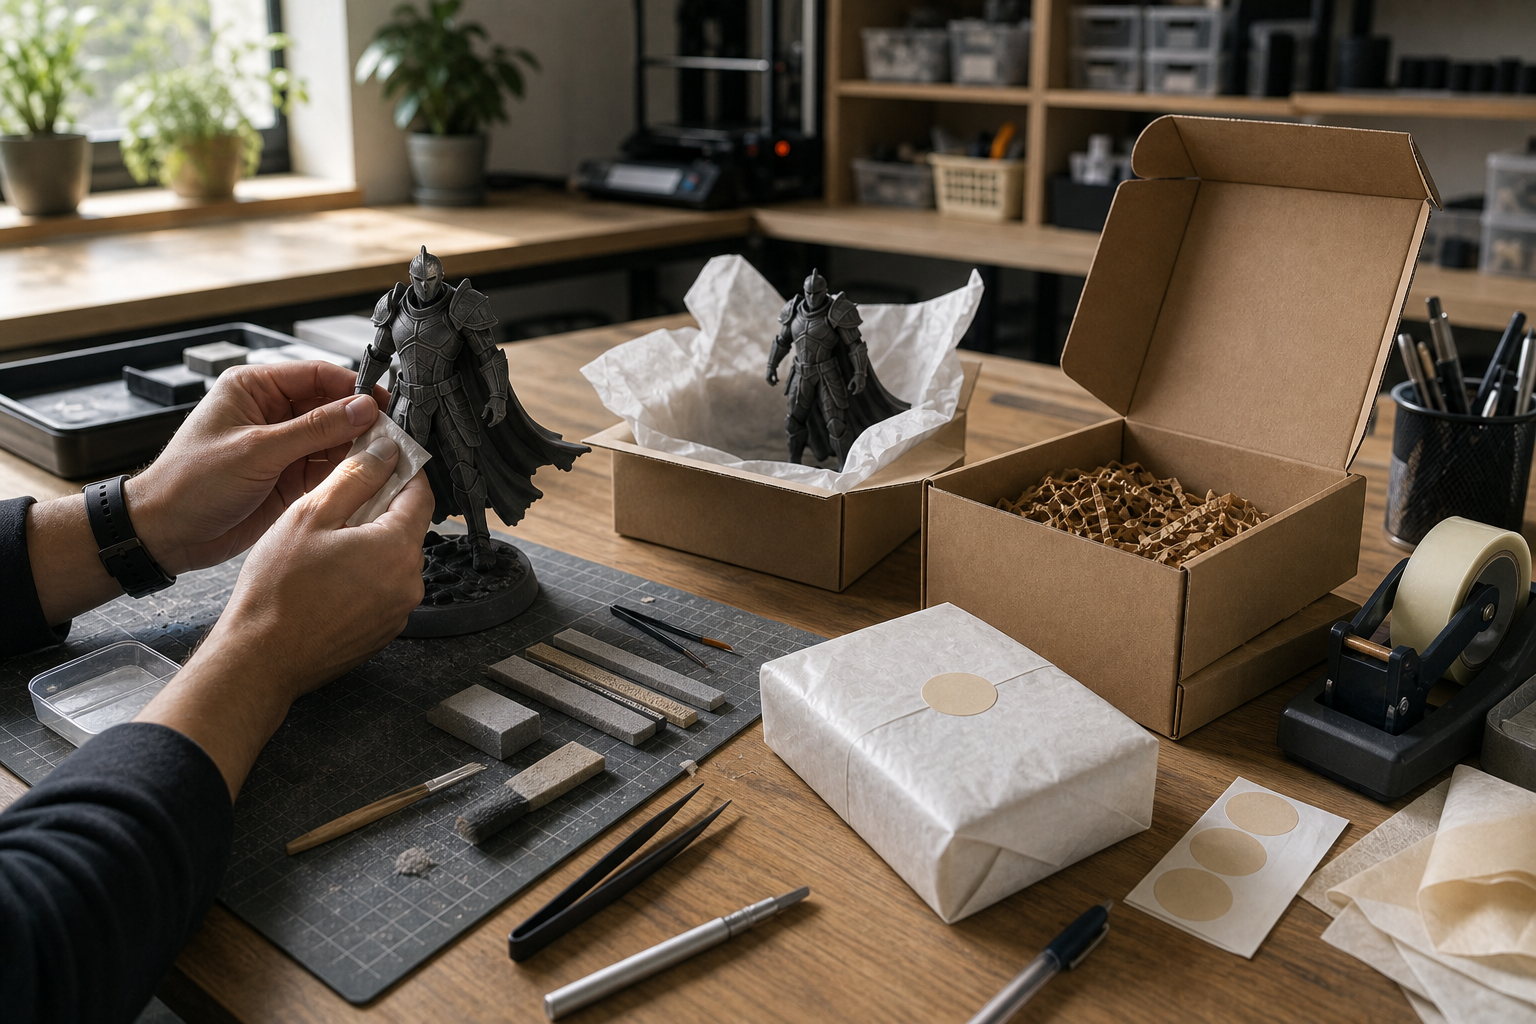
5. Delivery is part of the design process
The final stage is not just printing the approved file. It is confirming the finish, packaging, and handoff. If the piece is meant for display, we make sure it arrives in a condition that matches the promise made during the brief. If it needs assembly, we keep the parts labeled and organized. If there are care requirements, we explain them clearly. The object should reach the client with enough context to be useful from the moment it is unboxed.
That is why the custom process matters to the brand as a whole. It shows how 4leafx thinks about responsibility: listen first, build carefully, confirm the result, and deliver something that feels intentional. The finished item is the visible outcome, but the process is what makes it trustworthy.